| Holiday Hack Challenge 2023 Report | Cody Travis <cwtravis@gmail.com> |
Difficulty: |


|
Once I gained access to the Space Island Door, I explored Cape Cosmic and found the Zenith SGS room. SGS standing for Satellite Ground Station (I think). The SGS room is located on the far right side of Cape Cosmic. Inside there is a vending machine that will give you a zip file that contains a prebuilt container that has the NanoSat MO Framework application. The Nanosat MO Framework is an application development framework for created on-board and ground software for satellites. This software took me a while to understand, but after working with it for a day or two you start to understand the consumer/producer style of application where you can connect to a service (producer) and consume its actions.
If you want to check out the container you can find it here:
client_container.zip
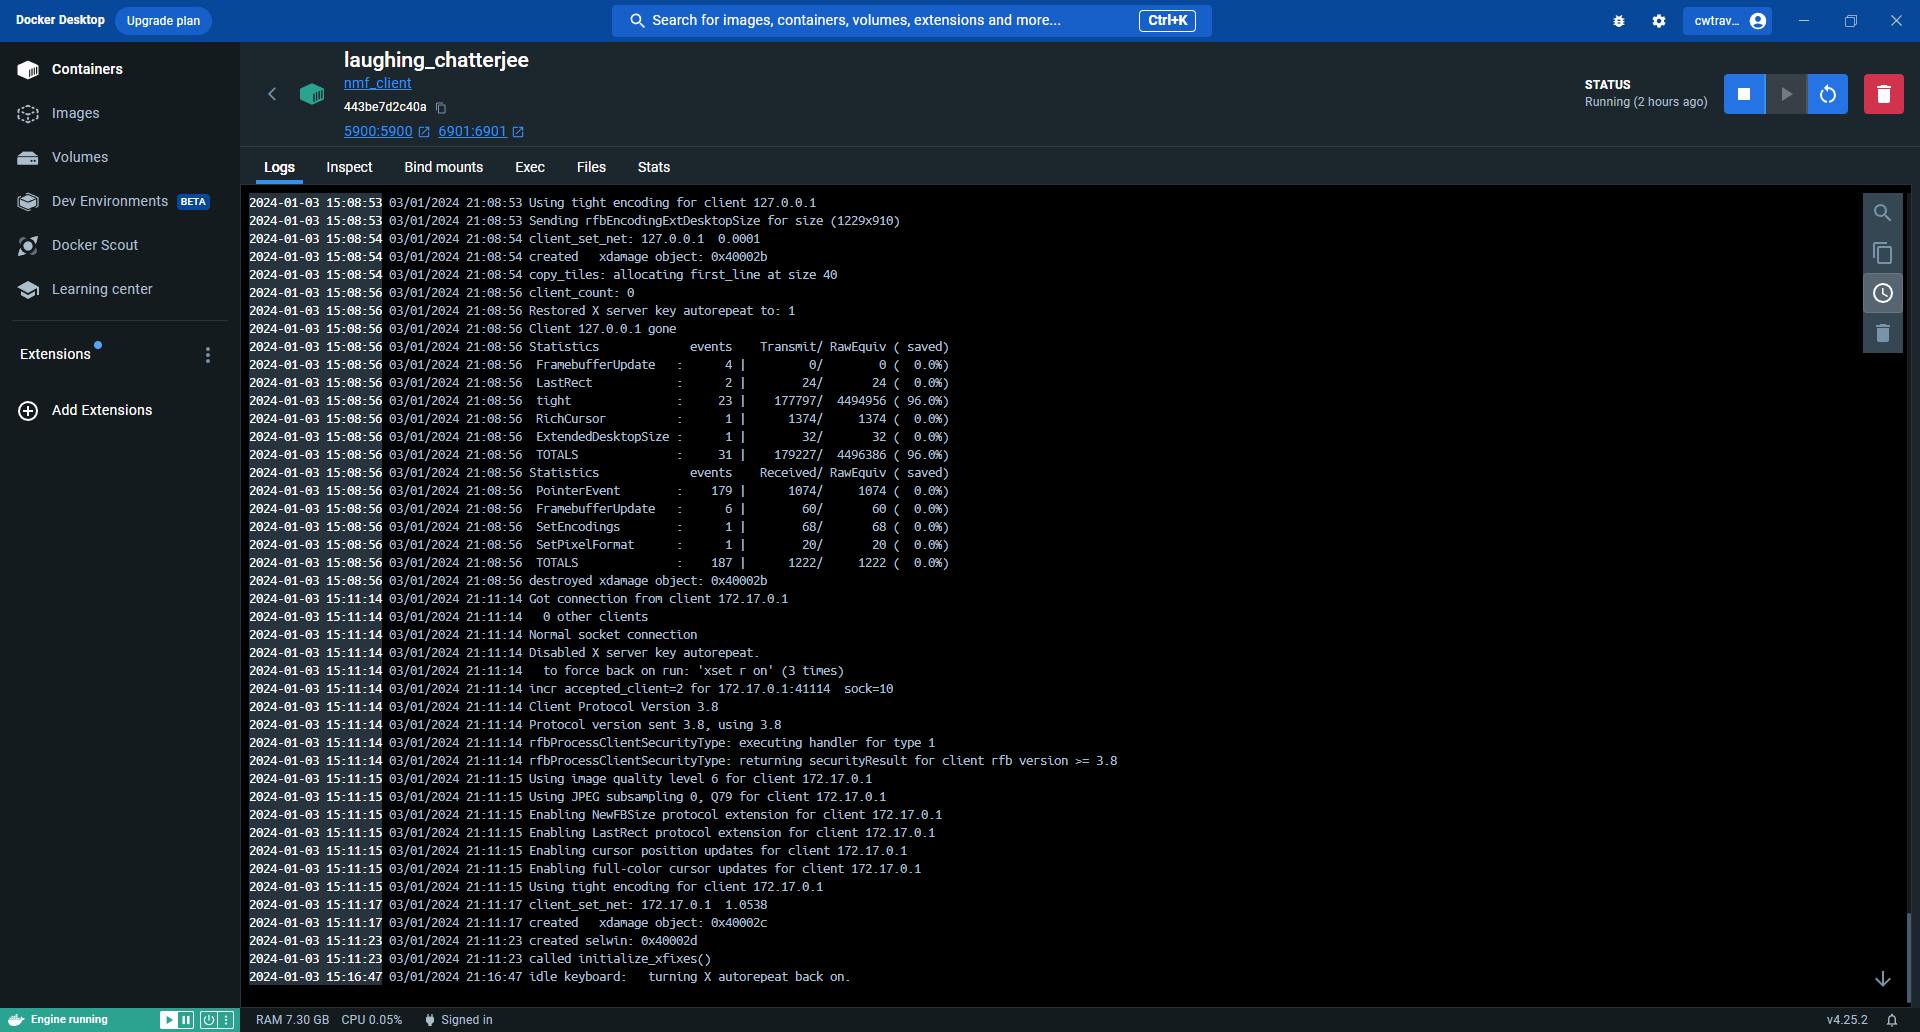
The first step is to get the container up and running so I could explore the application and how it connects to the satellite. The container has everything you need to connect and run the software. I used Docker Desktop to build and launch the container. Luckily the container zip has a README file that suggests commands to use to build and run it with the proper arguments and host ports mapped to it. Below is the README file that has had some portions removed for brevity.
If you want the full README, find it here:
README.md
# North Pole VNC Workspace Container:

Install docker and then to build the image do:

```
docker build -t nmf_client .
```

Then to run it use:

```
docker run -it --cap-add=NET_ADMIN -p 5900:5900 -p 6901:6901 --rm nmf_client
```

Can combine them both together using:

``` bash
./build_and_run.sh
```

## Wireguard How To:

Wireguard is already installed in this container during build but you can install it manually elsewhere too:

```
apt update && apt install -y wireguard-tools
```

There is many ways to connect wireguard but often times its just 1 to 1 connection.
In this case, a client config would look something like this:

```
[Interface]
Address = 10.1.1.2/24
PrivateKey = hTCxVDQRxSd5OwGc4TPffcNgmP488+K6j5nn6NloONo=
ListenPort = 51820

[Peer]
PublicKey = 2k45++7JvVLLXwZufPeV8LmzK6IpivWDGdCVi2yhsxI=
Endpoint = 34.172.176.5:51820
AllowedIPs = 10.1.1.1/32
```

## Nanosat MO Framework:

Documentation on the Nanosat framework can be found at:
https://nanosat-mo-framework.readthedocs.io/en/latest/opssat/testing.html
Can connect to a server using:

```
maltcp://10.1.1.1:1024/nanosat-mo-supervisor-Directory
```The README let me know that VNC is running on the container, and I can connect to it use a VNC viewer app on port 5900. The README suggested using tightVNC, which is what I used to view the container's desktop once it was running. Note that it comes with a noVNC viewer app that can be used in the browser by navigating to http://<container ip>:6901/vnc.html. I still suggest using a proper VNC client to facilitate things like copy and paste.
I ran the container using the commands suggested in the README and was able to connect to the VNC desktop.
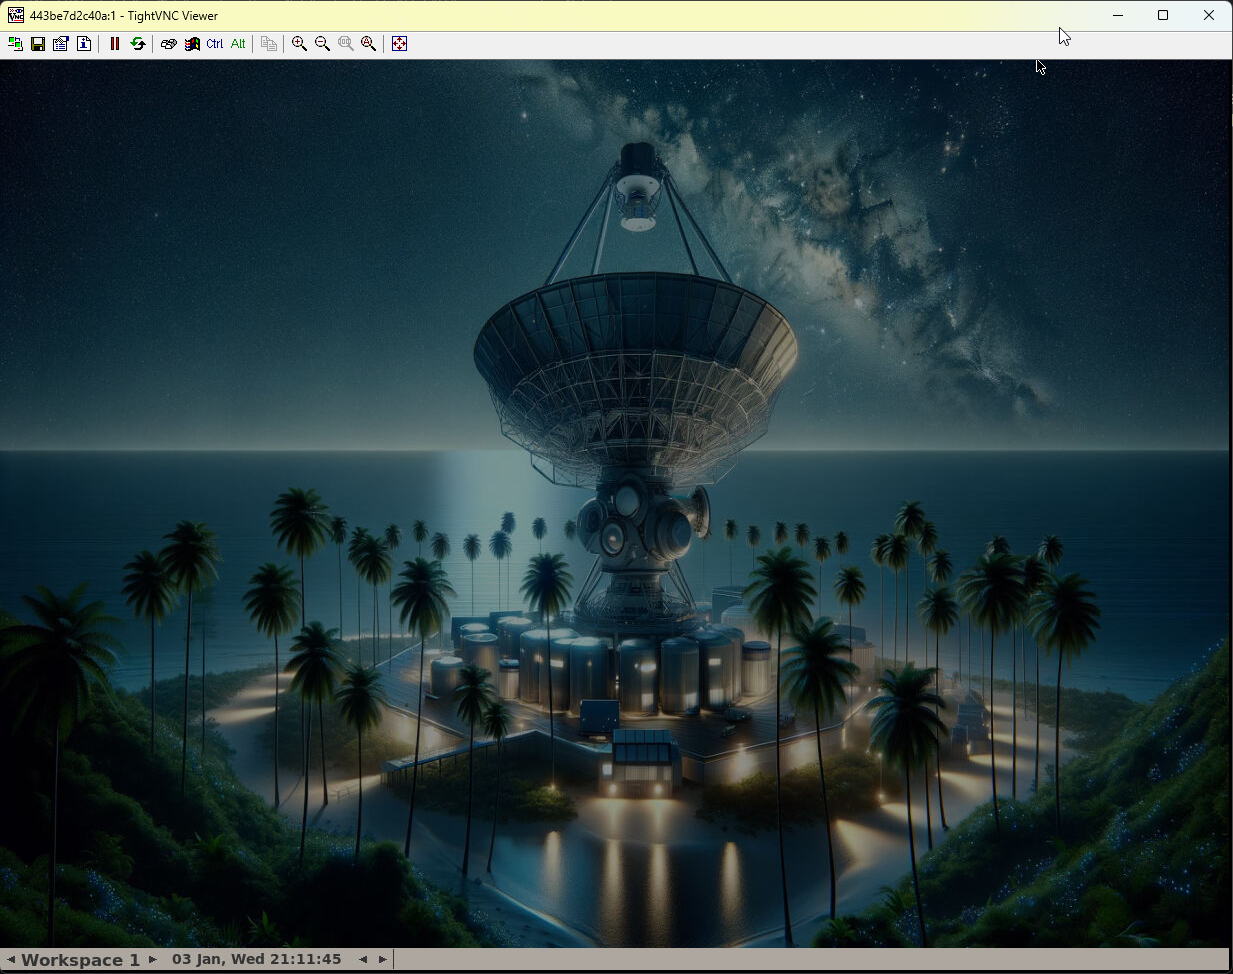
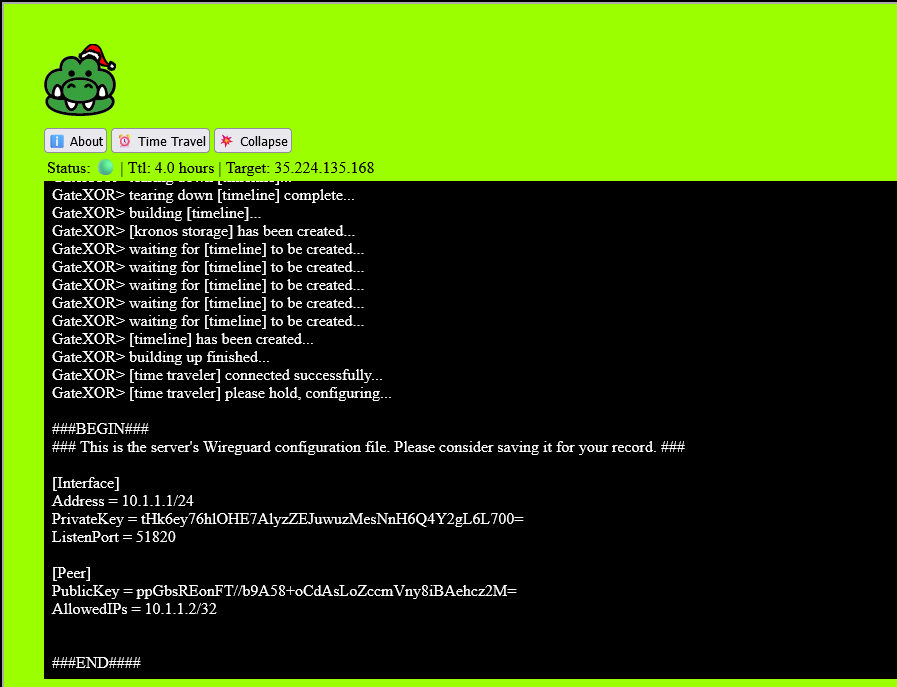
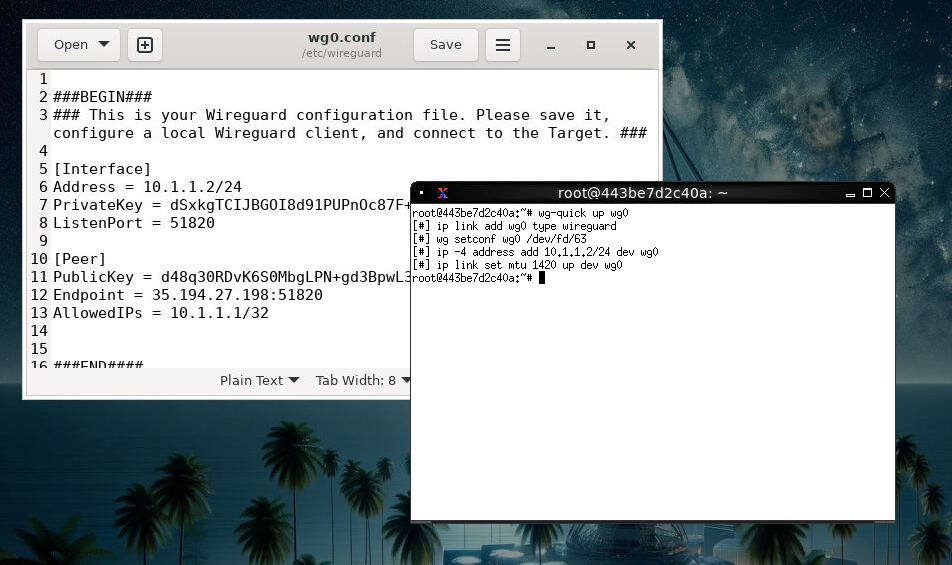
Clicking around in the desktop I found that there are some useful applications pre-installed. Wireshark, Gedit, and Wireguard came preinstalled. The README file shows how to create a Wireguard config file to connect to the satellite. To find a valid Wireguard config, I clicked the Zenith SGS console. There is a tool there called GateXOR(Gator). This tool provides "time travel" capabilities so we don't have to wait until the satellite is directly overhead to begin communications. GateXOR will provide a 4 hour valid Wireguard config for me to use. I can "collapse" the timeline to shut down the connection when I'm done. To start GateXOR, click the Zenith SGS center console and click the alligator icon in the bottom right corner.
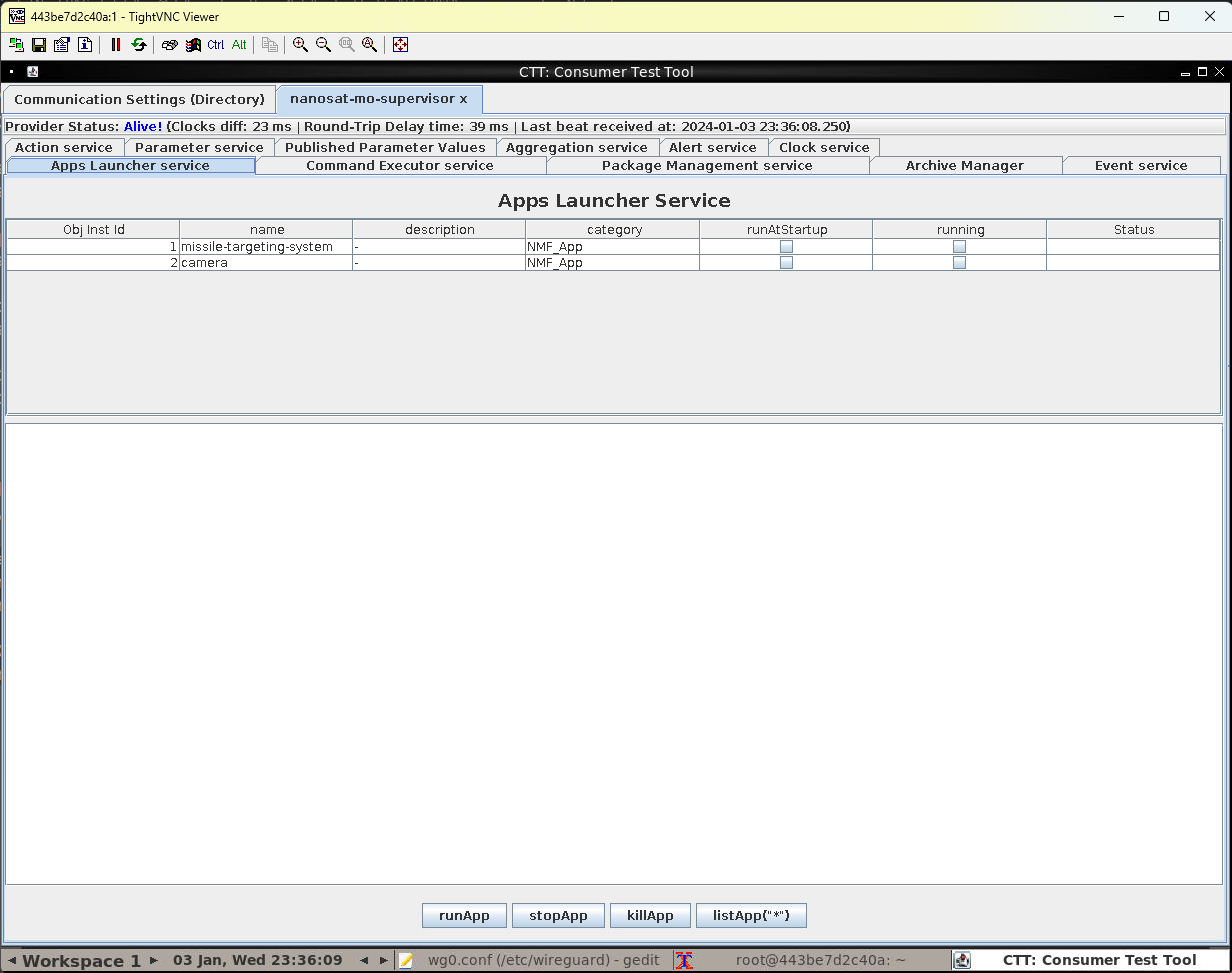
The objective here is to take a picture of Jack's camera. So I immediately noticed that there are two applications available, but not running: missile-targeting-system, and camera. I needed to launch the camera application so I selected it in the table and clicked "runApp" at the bottom of the window.
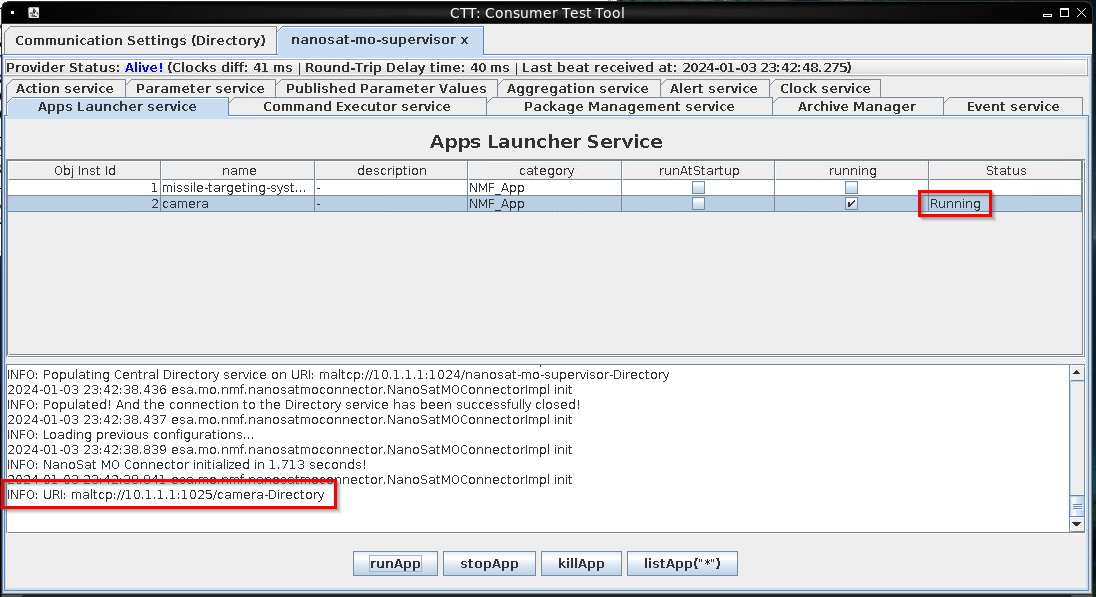
There appeared some console output in the window as well as a new status for the app. The app status is now set to "Running" and the URI is printed to the output console. I copied the URI "maltcp://10.1.1.1:1025/camera-Directory", switched back to the Communication Settings tab, and pasted it into the URI input. Now I can click Fetch Information and then Connect to Provider buttons to connect to the Camera App. A new tab appeared called "App: camera" which confirmed I was connected. I clicked around the tabs until I noticed one called "Action service" which has an action service definition called "Base64SnapImage".
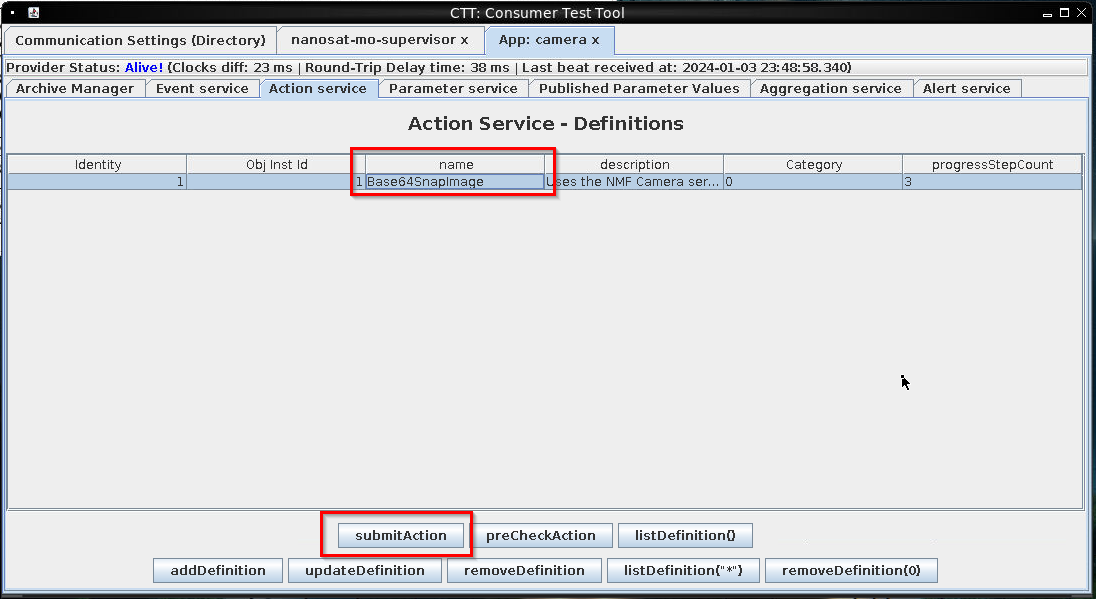
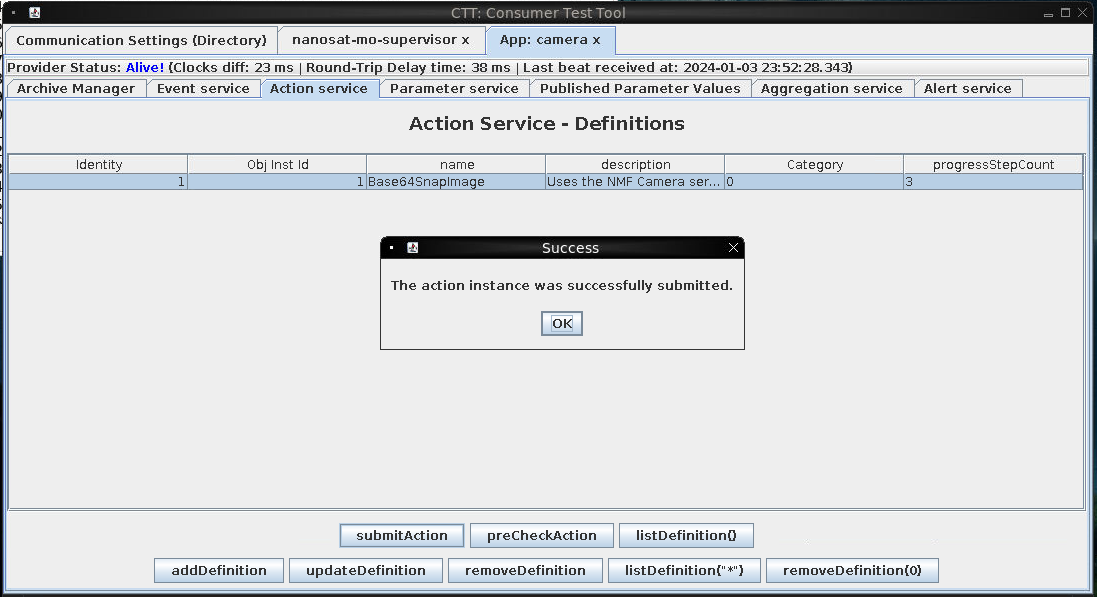
I selected the Base64SnapImage action and clicked the "submitAction" button. The CTT will prompt you to add arguments to the action. Not knowing if any arguments were necessary for the Base64SnapImage action, I just submitted it with the default arguments. This seemed to work because I got a success message.
So if I successfully snapped an image, how do I retrieve it? Again this was a trial and error situation where I noticed in the tab "Parameter service", there were two parameters: "Number of snaps taken" and "Base64 Encoded jpg Snapshot". The latter one seems to be the one we want. If I can get the base64 encoded image, I can base64 decode it and view it. I clicked the "Base64 Encoded jpg Snapshot" parameter and then the "getValue" button.
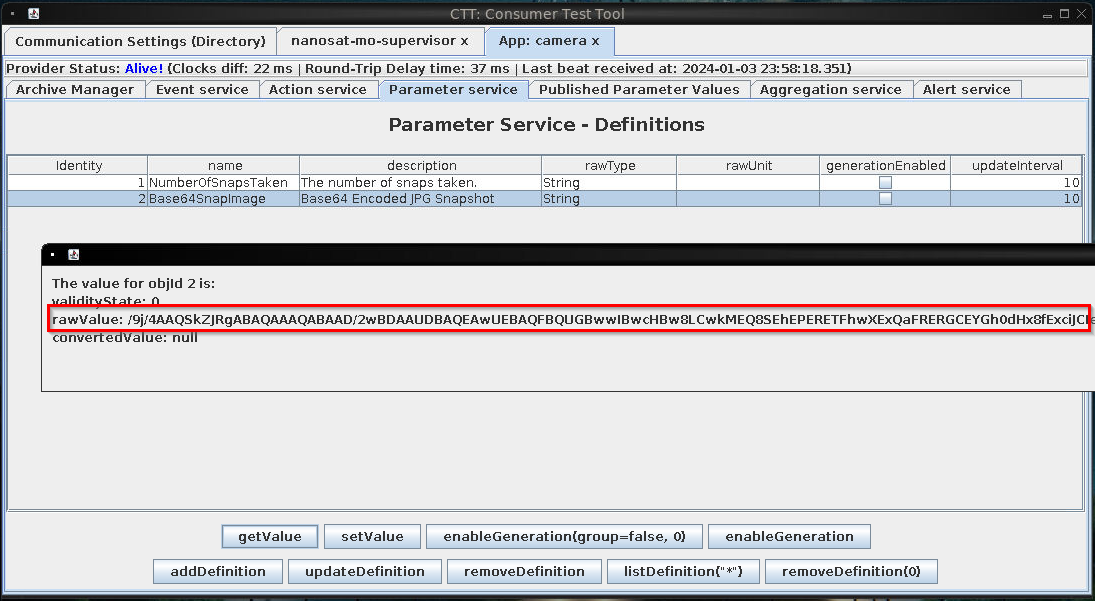
Base64 Image Data I could see the base64 encoded data in the dialog! There is a catch though. I cannot seem to be able to copy and paste from this dialog. There is a giant blob of base64 image data but I can't get at it. There are a few options here. I could use the CLI tool to inspect the parameter values. The method I chose is to turn up the logging level from INFO to FINE so the parameter value gets printed to the log file. To do this, I edited the file "/opt/nmf/logging.properties" and changed the base log level from INFO to FINE.
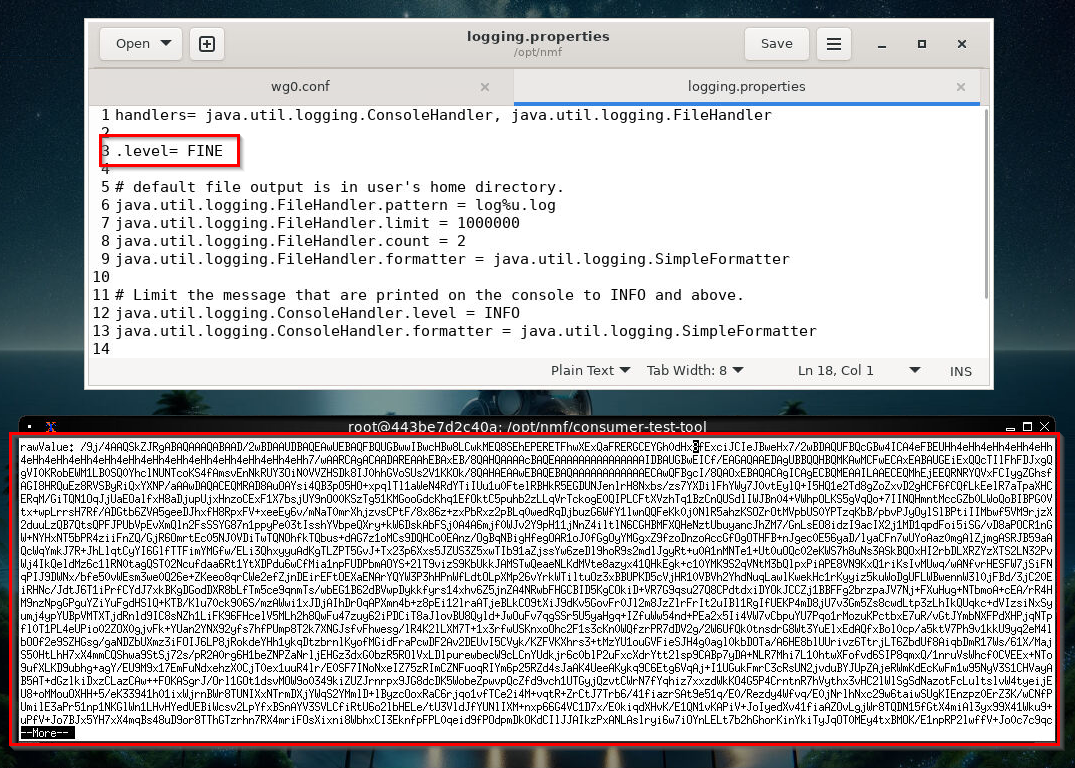
I had to close the CTT and launch it again for the new log level to take effect. I performed the same steps again: connected to the camera URI (maltcp://10.1.1.1:1025/camera-Directory), submit the Base64SnapImage action, then view the result by going to the Parameter service tab and clicking getValue on Base64SnapImage.
I switched to the Bash shell and ran the command "cat /opt/nmf/consumer-testing-tool/log0.log.1 | grep rawValue" and it printed out the base64 data for the image. I saved this to a file by directing the output of the command to a file "img.b64":
cat /opt/nmf/consumer-test-tool/log0.log.1 | grep rawValue > img.b64
This file still has the "rawValue: " part at the beginning, so be sure to edit that out of the file. Once the base64 data is the ONLY data in the file, I base64 decoded it into an image file by copy and pasting the base64 data into a file on my local system also called img.b64.
With this file on my local system I base64 decoded it into an image:
base64 -d img.b64 > img.jpg
Jack Frost
That command results in this image file:
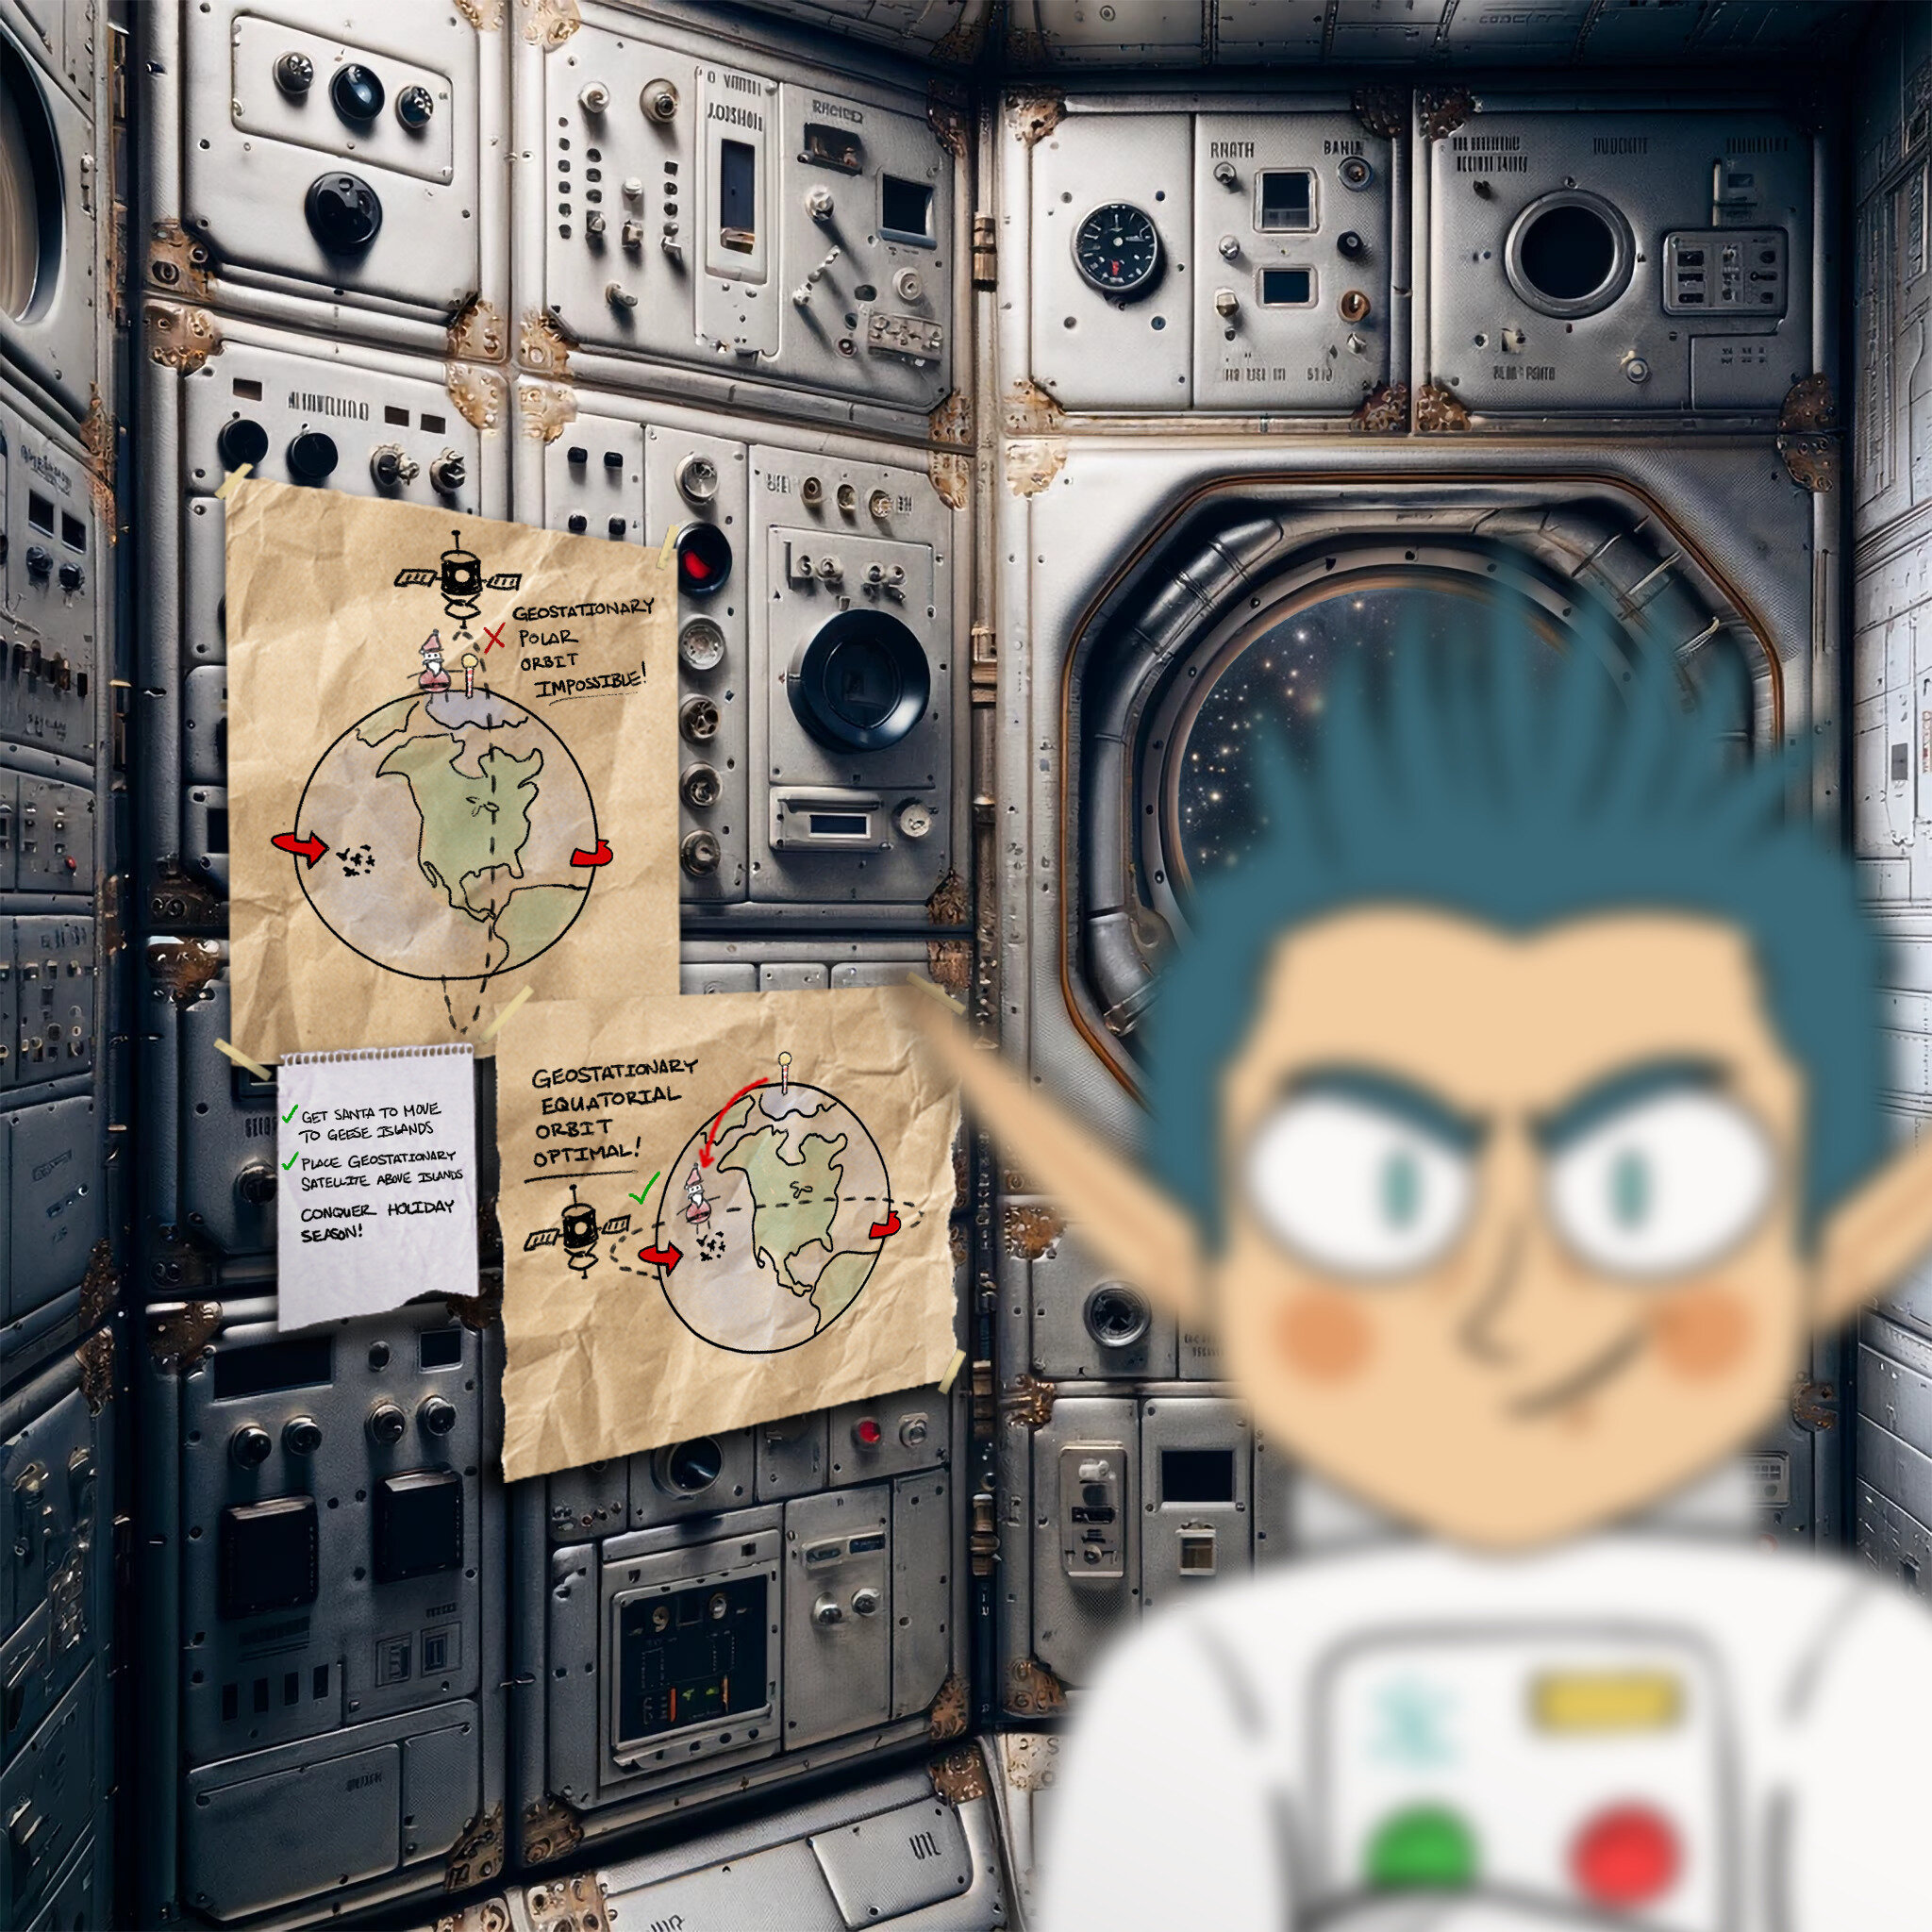
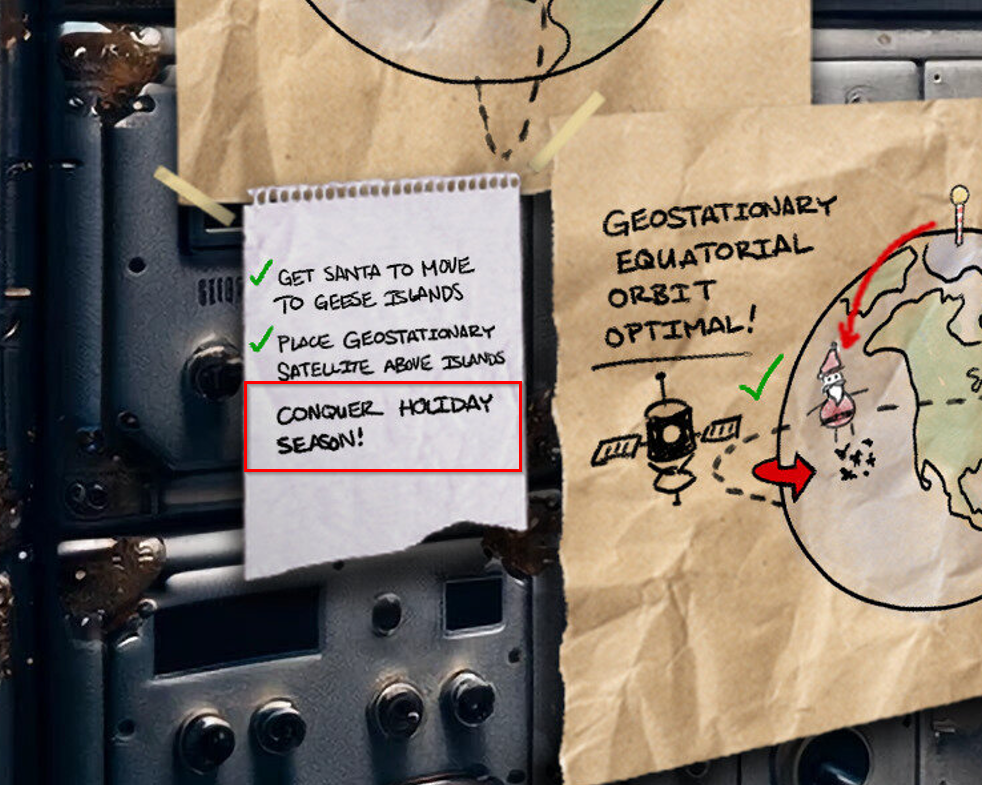
The third item is "Conquer Holiday Season!"
Enter that in your badge to complete this objective.